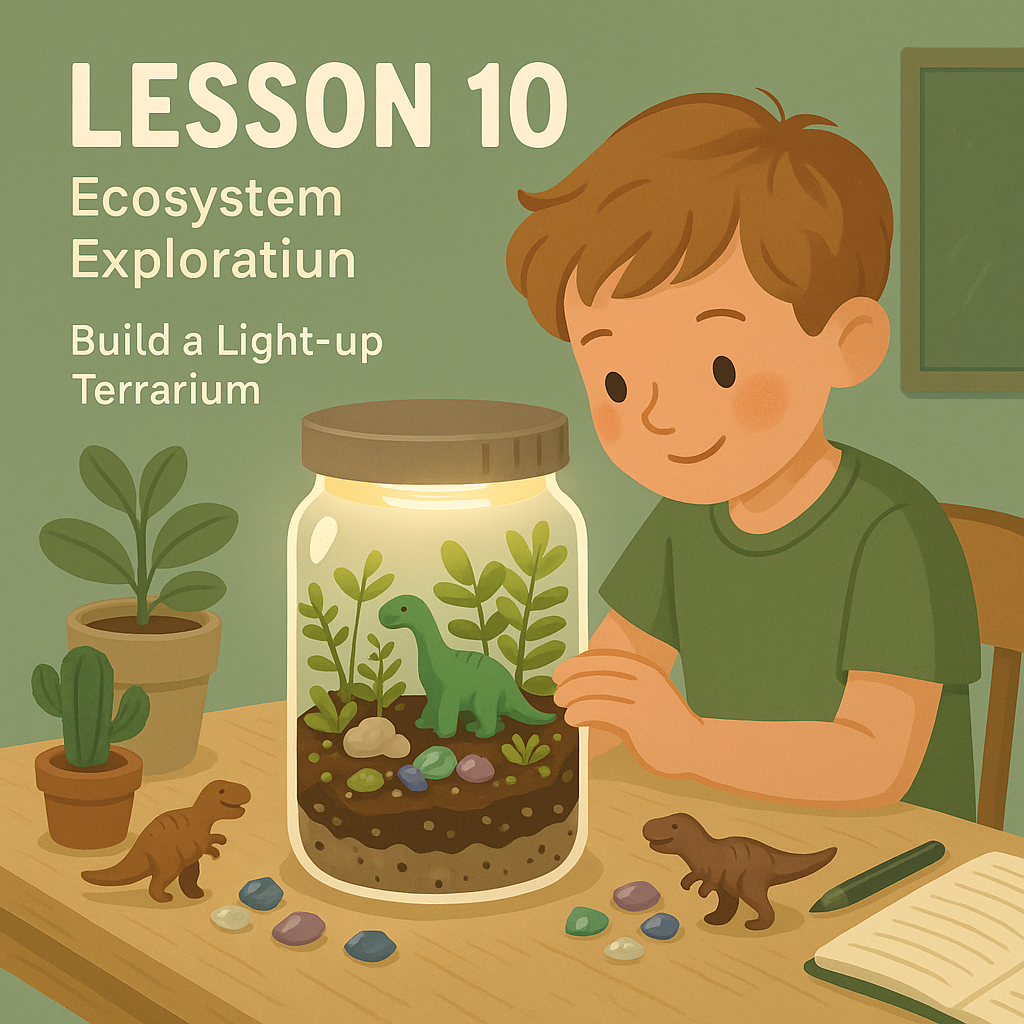
Lesson 10: Build & Observe a Mini Ecosystem with the National Geographic Light-Up Terrarium
Design a living terrarium habitat with real plants, gemstones, and dino figures. Learn about producers, decomposers, and daily life-cycle care under day/night LED lighting.
Disclosure: This post contains affiliate links. As an Amazon Associate, we may earn from qualifying purchases at no extra cost to you.

National Geographic Light-Up Terrarium Kit (Dino Habitat)
All-in-one kit to layer substrate, plant seeds, add decorations, and observe growth with a built-in LED lid for day/night cycles.
View on Amazon(Print-ready build guide, growth log sheets, and care checklist.)
Learning Objectives
- Explain the roles of producers, consumers, and decomposers in a simple ecosystem.
- Assemble a terrarium using layered substrate and plant seeds; document growth over time.
- Track variables like light exposure and moisture; make predictions and adjust care.
- Use observation journals to record changes with drawings, measurements, and new questions.
Materials Needed
- National Geographic Light-Up Terrarium Kit (with LED lid)
- Clean water mister or dropper; paper towels
- Optional: small magnifier, ruler, extra seeds or moss
- Printable growth log (from PDF) or a notebook
Preparation & Setup (5–10 min)
- Review the kit’s step-by-step layering guide and identify each component (rocks, soil, seeds, décor).
- Pre-teach keywords: germination, condensation, photosynthesis, humidity.
- Choose a display spot with indirect light and an outlet or batteries for the LED lid.
Lesson Steps (35–55 min + ongoing care)
- Hook: Ask, “What do plants need to survive?” Brainstorm sunlight, water, air, and space.
- Layer the Habitat: Add drainage rocks, soil, and seeds as directed. Place gemstones and dino figures last.
- First Watering: Mist lightly until soil is moist but not soggy. Close the lid and switch on the LED (day mode).
- Baseline Data: Record date, seed type, initial soil level, and a sketch/photo of the setup.
- Care Routine (Daily/Every Other Day): Check condensation and soil moisture; rotate LED day/night. Add 2–5 mists if dry.
- Weekly Check-In: Measure tallest sprout and count leaves. Note color, mold, or condensation patterns; adjust light and water.
Data & Assessment
- Growth log entries: date, height (cm), leaf count, observations, and care notes.
- Exit ticket: “One change I noticed… One adjustment I’ll try next…”
- Rubric (1–4): consistency of care, accuracy of measurements, reflection quality, vocabulary use.
Discussion & Reflection
- How does the terrarium recycle water (evaporation → condensation → drip)?
- What evidence shows your plants are photosynthesizing?
- How did light schedule or watering changes affect growth?
Extensions & Cross-Subject Links
- Math: Graph height vs. days; compare two terrariums with different light times.
- ELA: Write a “plant diary” entry from the seed’s perspective.
- Art: Create labeled botanical sketches of sprout stages.
- Science: Try a control terrarium without LED use (near a window) and compare.
Parent & Teacher Tips
- Less is more with water—aim for gentle misting and steady humidity.
- Rotate the terrarium a quarter-turn weekly to encourage even growth.
- If mold appears, increase airflow briefly, reduce watering, and remove affected debris.
Wrap-Up
Terrariums turn life science into a daily habit of observation. With simple care and consistent journaling, learners see ecosystems in action—seed to sprout to thriving mini-forest.
Disclosure: Affiliate links may support MommySchool Tools at no extra cost to you.