Lesson 7: Mega STEM Adventures with the National Geographic Mega Science Lab (130+ Experiments)
A flexible, year-round lab plan pulling from chemistry, earth science, and “magic of science” demos—perfect for rotating stations or weekly family labs.
Disclosure: This post contains affiliate links. As an Amazon Associate, we may earn from qualifying purchases at no extra cost to you.

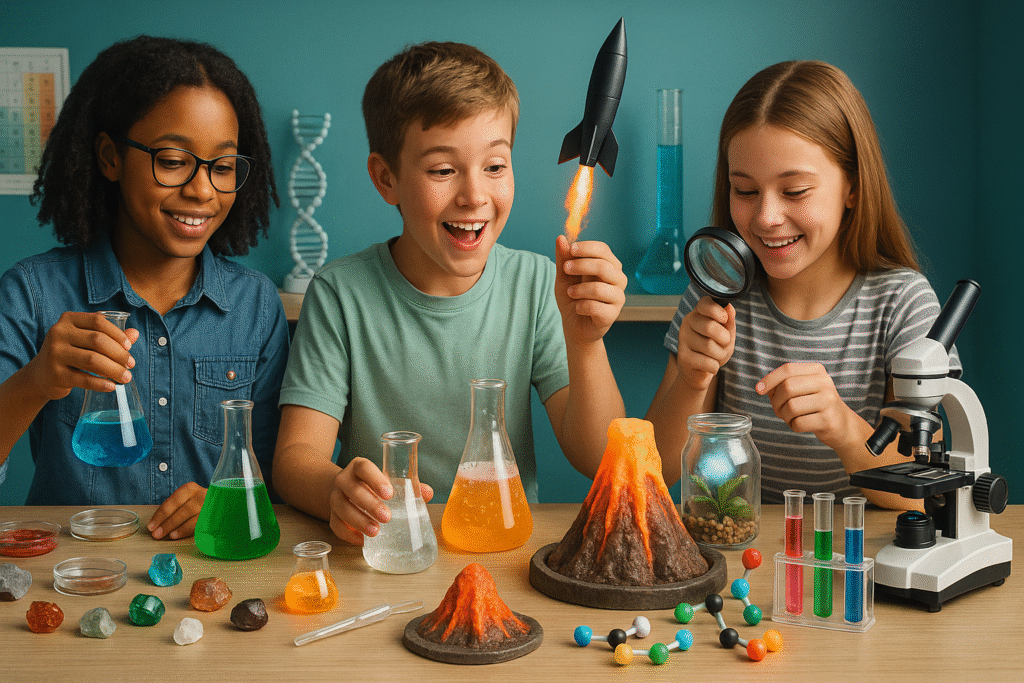
National Geographic Mega Science Lab
Bundle of chemistry, earth science, and “magic” STEM projects with clear guides and materials for over 130 experiments—great for building a consistent lab habit at home.
View on Amazon(Print-ready rotation schedule, station cards, and lab log sheets.)
Learning Objectives
- Establish a repeatable weekly lab routine across multiple STEM strands.
- Collect and analyze data with age-appropriate logs and reflection prompts.
- Differentiate between observation and inference; practice safe lab habits.
- Strengthen vocabulary for chemistry, geology, and physical science.
Materials Needed
- National Geographic Mega Science Lab
- Safety glasses, paper towels, and table cover
- Notebook or printed lab log (from PDF)
- Optional: thermometer, kitchen scale, stopwatch, ruler
Preparation & Setup (5–10 min)
- Skim the kit booklet and star 3–4 experiments suitable for today’s time window and age group.
- Set up two stations: Chemistry (safe reaction) and Earth Science (rock/mineral or crystal demo).
- Print lab logs and station cards (included in the PDF) so learners rotate smoothly.
Lesson Steps (40–60 min)
- Hook (5 min): Show a quick demo (color change or density trick) and ask, “What evidence would prove a chemical change?”
- Station A — Chemistry (15–20 min): Choose one safe reaction. Learners predict, run, and record observations (bubbles, temp, color). Emphasize variables and controls.
- Station B — Earth Science (15–20 min): Identify/observe minerals or begin a crystal growth setup. Record properties and sketch observations.
- Share & Reflect (5–10 min): Compare results across stations. What evidence supported a reaction? What patterns were seen in mineral properties?
Data & Assessment
- Use the lab log to capture Prediction → Procedure → Observations → Conclusions.
- Quick exit ticket: “One thing I observed, one question I have, one variable I would change.”
- Optional rubric (1–4) for safety, participation, accuracy of notes, and reflection quality.
Discussion & Reflection
- What counts as evidence when we claim a chemical change happened?
- How did the setup of each station influence your observations?
- Which tools (thermometer, scale, timer) improved data quality the most?
Extensions & Cross-Subject Links
- Math: Graph temperature or time-to-reaction vs. mixture ratios.
- ELA: Write a one-page “lab story” from the perspective of a molecule or a crystal.
- Long-Term: Continue crystal growth all week; photograph daily and make a mini report.
Parent & Teacher Tips
- Keep stations consistent week to week; rotate experiments, not the entire setup.
- Model concise note-taking. Bullet observations beat long paragraphs for young learners.
- Celebrate “good questions” as outcomes, not just “right answers.”
- Store reusable station bins so setup stays under 10 minutes.
Wrap-Up
This kit lets you run a sustainable, multi-strand STEM lab at home. With simple rotations, consistent logging, and weekly routines, kids build real scientific habits—predicting, testing, observing, and explaining.
Disclosure: This post contains affiliate links. Purchases may support MommySchool Tools at no additional cost to you.